| Section Page | Previous Page | Next Page |
Simple liningby Mikkel Kjartan
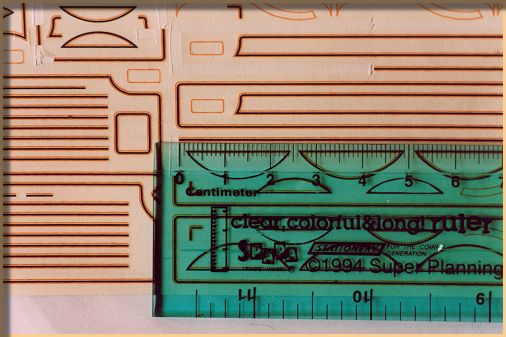
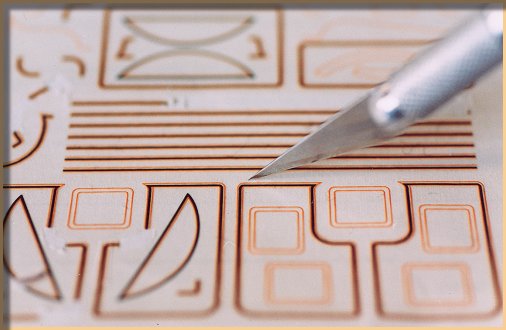
1. Measure out a section of lining. There are several shapes on the sheet to aide modellers as much as possible.
2. Cut around the required section with a sharp hobby knife. Don't cut right through, you'll need only the top layer. The result should be a section of lining with the thin backing paper still attached to it.
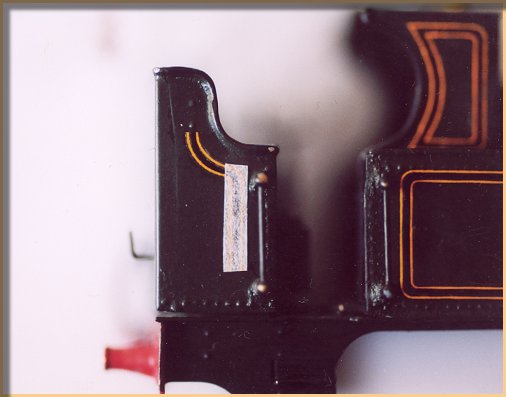
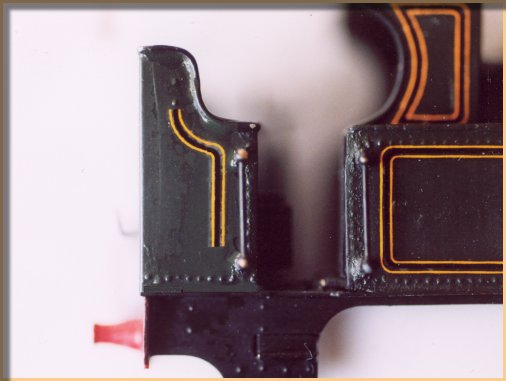
3. Locate the section of lining where you want it on the loco. Then press firmly to make it stick thoroughly. The photo above shows a curved section of lining that is already completed. The strip of paper beneath it is a section that has been added but still has the backing paper attached, as it should at this stage.
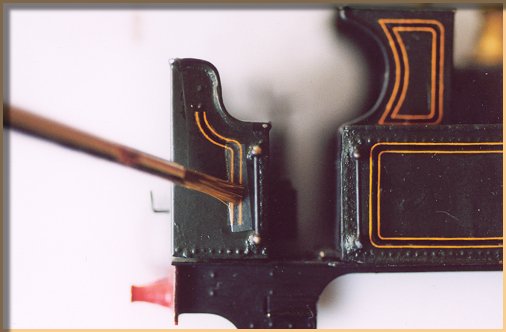
4. Wet the section of lining with a brush, and leave for a minute or so. The backing paper will come off...
5. ...and the lining will be attached to the loco.
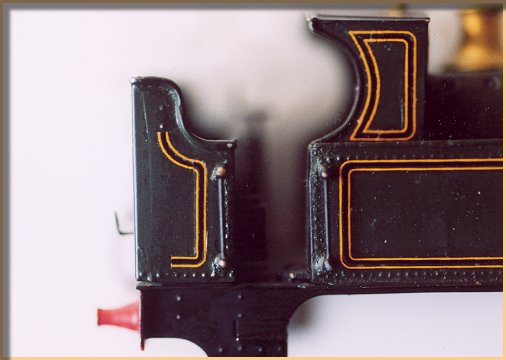
6. Gradually build up sections of lining to the required shape.
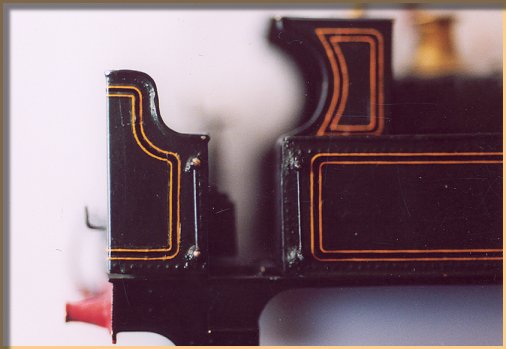
7. The finished result. Incidentally, taking the lining around the back of the bunker was normal for these early GWR classes. |
| Section Page | Previous Page | Next Page |