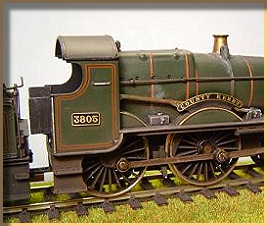
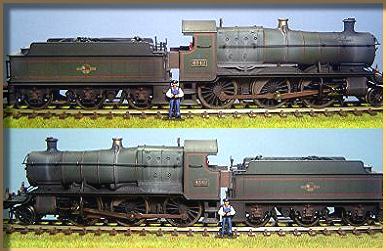
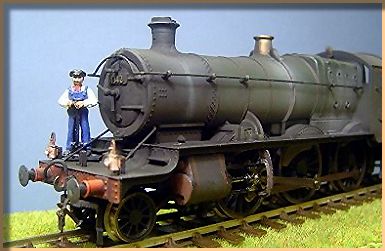
Detailing RTR Locos

by Gary Lee

Basic detailing

Here's a weathered and detailed Bachmann 45xx. The donor model is good, but there is still scope for detailing.

I have renumbered this one to 4563 using etched brass cabside and smokebox number plates.

The moulded smokebox door handle was replaced with a separate brass one.

Screw-link couplings were fitted to the front buffer beam.

I added lamps front and back, and real coal to the bunker. The weathering is done from a combination of airbrush and hand brush.


Further detailing

This Hornby 38xx "County" Class has seen some more elaborate detailing work.

Apart from the basic detailing described on the previous page it has a whole new smokebox door, as well as smokebox support irons.

Small brass wire cylinder drain cocks have been added to the cylinders.The bufferbeam has had sprung buffers added, a screw link coupling and a new brass vacuum pipe.

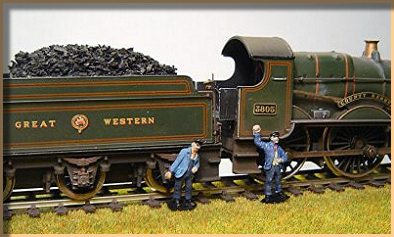
I have also extended the cab floor and put some cabside doors on.

I replaced the tender floor brake handle – I found it in my bits box and remember paying a bomb for it!

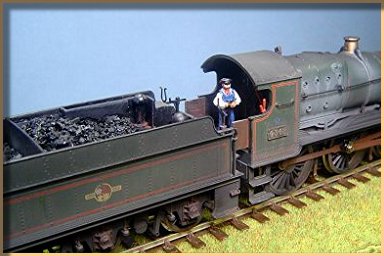
Finally, I fabricated a regulator handle and painted the backhead a little.


Coaling your locos

Real coal looks far better than the moulded plastic effort seen on many RTR locos. Unfortunately many RTR tender locos (especially older versions) come with the coal piled very high – so simply adding more on top isn't really an option.

On the Bachmann 43xx seen here I removed all of the plastic moulded coal, using an electric slot cutter and a scalpel. The most difficult part is at the front of the tender where three angles meet – I tried to keep the existing edges and sides square and sanded down the surfaces afterwards.

The next step was to use thin Plastikard to rebuild the interior of the tender. I use a 90 degree bent section stuck to the sides to mount a new floor to – and then it is a case of cutting and trying the other pieces until they fit. The Plastikard takes paint better if you run a fine file over it before sticking.

The coal was added in three parts, just to build up the amount. I fix the coal in place with Phoenix Paints satin varnish ready mixed for airbrushes. I just drop it on the coal from a plastic dropper, leave it overnight and then add more as if you use too much in one go the varnish at the bottom never gets enough air to harden.