Seat covering for autotrailers
by Mark Purle
Mark Purle describes how he used his Word document file to cover seats in an autotrailer.
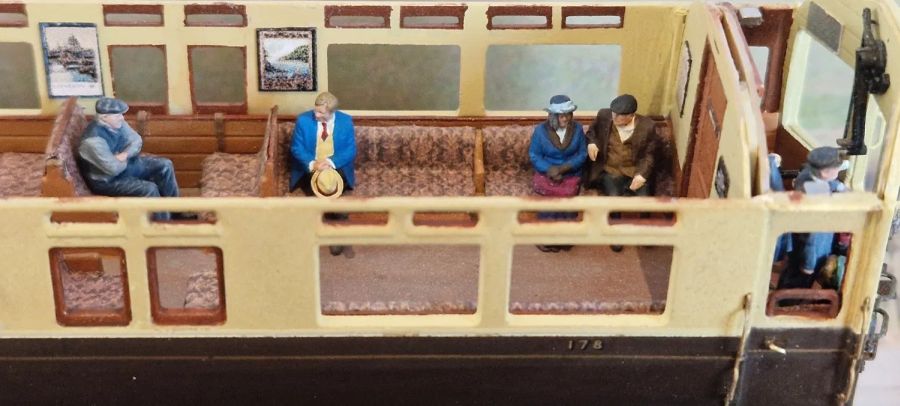
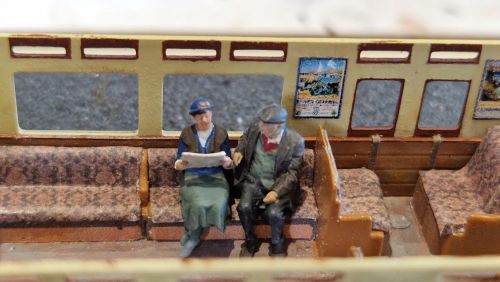
(The figures are all HO 1/87 scale as they are a better fit for the autocoach.)
It was a while ago when I put this file together but I remember at the time that it was taken from an original GWR pattern of the 1940s period *. Below are some of my notes for applying the pattern to the seating.
For the seating pattern it does look like there will be gapping between some of the edges but I found this disappears when printed. The pattern is made up of smaller patterned blocks 'grouped' together, and if you choose, you can ungroup by right clicking on the object and from the dropdown menu, click ungroup and use the Ctrl and arrow keys to make any finer adjustments.
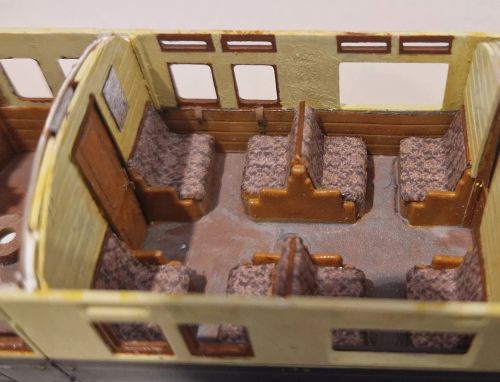
I found that printing onto plain paper worked best and once cut to size, I used an adhesive designed for paper, which gives some time for manipulation worked best. You will need some tools to push the paper into the crevice where seat meets seat back and along the seat edges. I used a cocktail stick and such like implements for the job. On the bench seating I ran the pattern over the top of the seat back and down the unseen side by a few mm and placed a wedge in the gap between the seat back and the coach side until the glue dried. It's all very tricky and a lot of patience is required.
Also on the pattern sheet there are the leg fronts for the long bench seating. On the prototype, the seating has legs supporting them, and are not solid lumps of plastic, so on mine I tried to represent this by painting in the wooden frames and legs of the bench seats but it looked terrible, so instead I made up a template pattern to try and represent the front legs, the front of the seat frame and the void underneath. The image adjacent shows them in place. Not perfect but it looks neater than trying to paint in the woodwork. I didn't bother with doing the twin bay seating the same as it is not really as visible.
Just another point on the bay seating, I filed the thin moulding down on the top of the seat backs so that I could run the pattern over the top and down the other side, so covering both sides of the back to back seating with one pattered piece. I then replaced the moulding with a half round length of micro strip, painted brown first. Adopting this method avoids any unsightly raw cut paper edges at the tops of the seat back.
|
* Webmaster's note: Seat cover patterns varied according to era. See here for examples. |
|