| Section Page | Previous Page | Next Page |
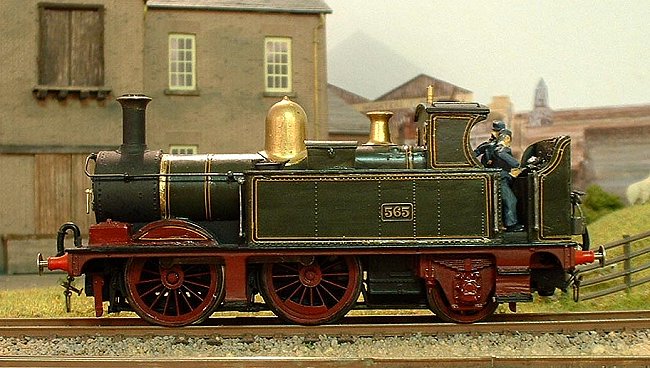
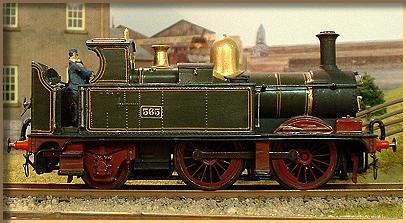
Hornby 14xx to 517 Classby David Passingham
This is a basic description of how I converted a Hornby GWR 14xx class loco to a GWR 517 class. First gather as much picture evidence and line drawings of your chosen prototype. The 517s went through many changes in their lives and you need to settle on one to model. Having said that, I wanted to capture the essence of the class in its early days, so my model is not an exact copy of the prototype.
To start you need a Hornby 14xx. Any body colour will do as it will be repainted. Remove the body from the chassis Starting with the chassis, I needed to remove the two large sand boxes so I wrapped it in kitchen towels leaving the sand boxes exposed and taking a deep breath started to hacksaw off the sand boxes. The toweling stopped the dust and metal fragments getting into the motor. Tidy up with a file, remove the wrapping and go over the motor with a large soft clean paint brush to remove any stray metal particles. Check that the motor still runs! Now the body. Remove the cab roof. Mine just popped off! Put to one side for later use. Now with a good sharp modelling knife remove in small pieces the large lump on the boiler between the chimney and the dome. You will only have half a chimney as the top half comes off when you remove the screw holding the chassis on. Very carefully file and sand the top of the boiler to tidy up after this. Now look at your picture and decide how much cab and bunker needs to come off. I needed to remove all of the cab and the bunker. I cut along the line of the top of the tanks and across the front of the cab (the new cab is narrower than the existing one).
I traced the line drawing onto white plasticard and cut out the cab sides, cab front and bunker sides and back. Before you cut out the cab front, drill out the two round windows as it is much easier to hold a larger piece of plastic. Find the cab roof and use it to get the right curve on the top of the cab front. Cut the cab roof to length. To construct, I started with one cab side, packed out the back of the tanks, made sure it did not foul the wheels and glued it in position. Carry on around the cab and bunker, leave to set. I purchased sand boxes, cab and boiler fitting and glued these on as and when needed during the repainting process. Last tip: I used Alan Gibson brass bearings to give a perfect beading to the cab front windows. David You can see more photos of David's 517 on his Maeport East layout. |

| Section Page | Previous Page | Next Page |